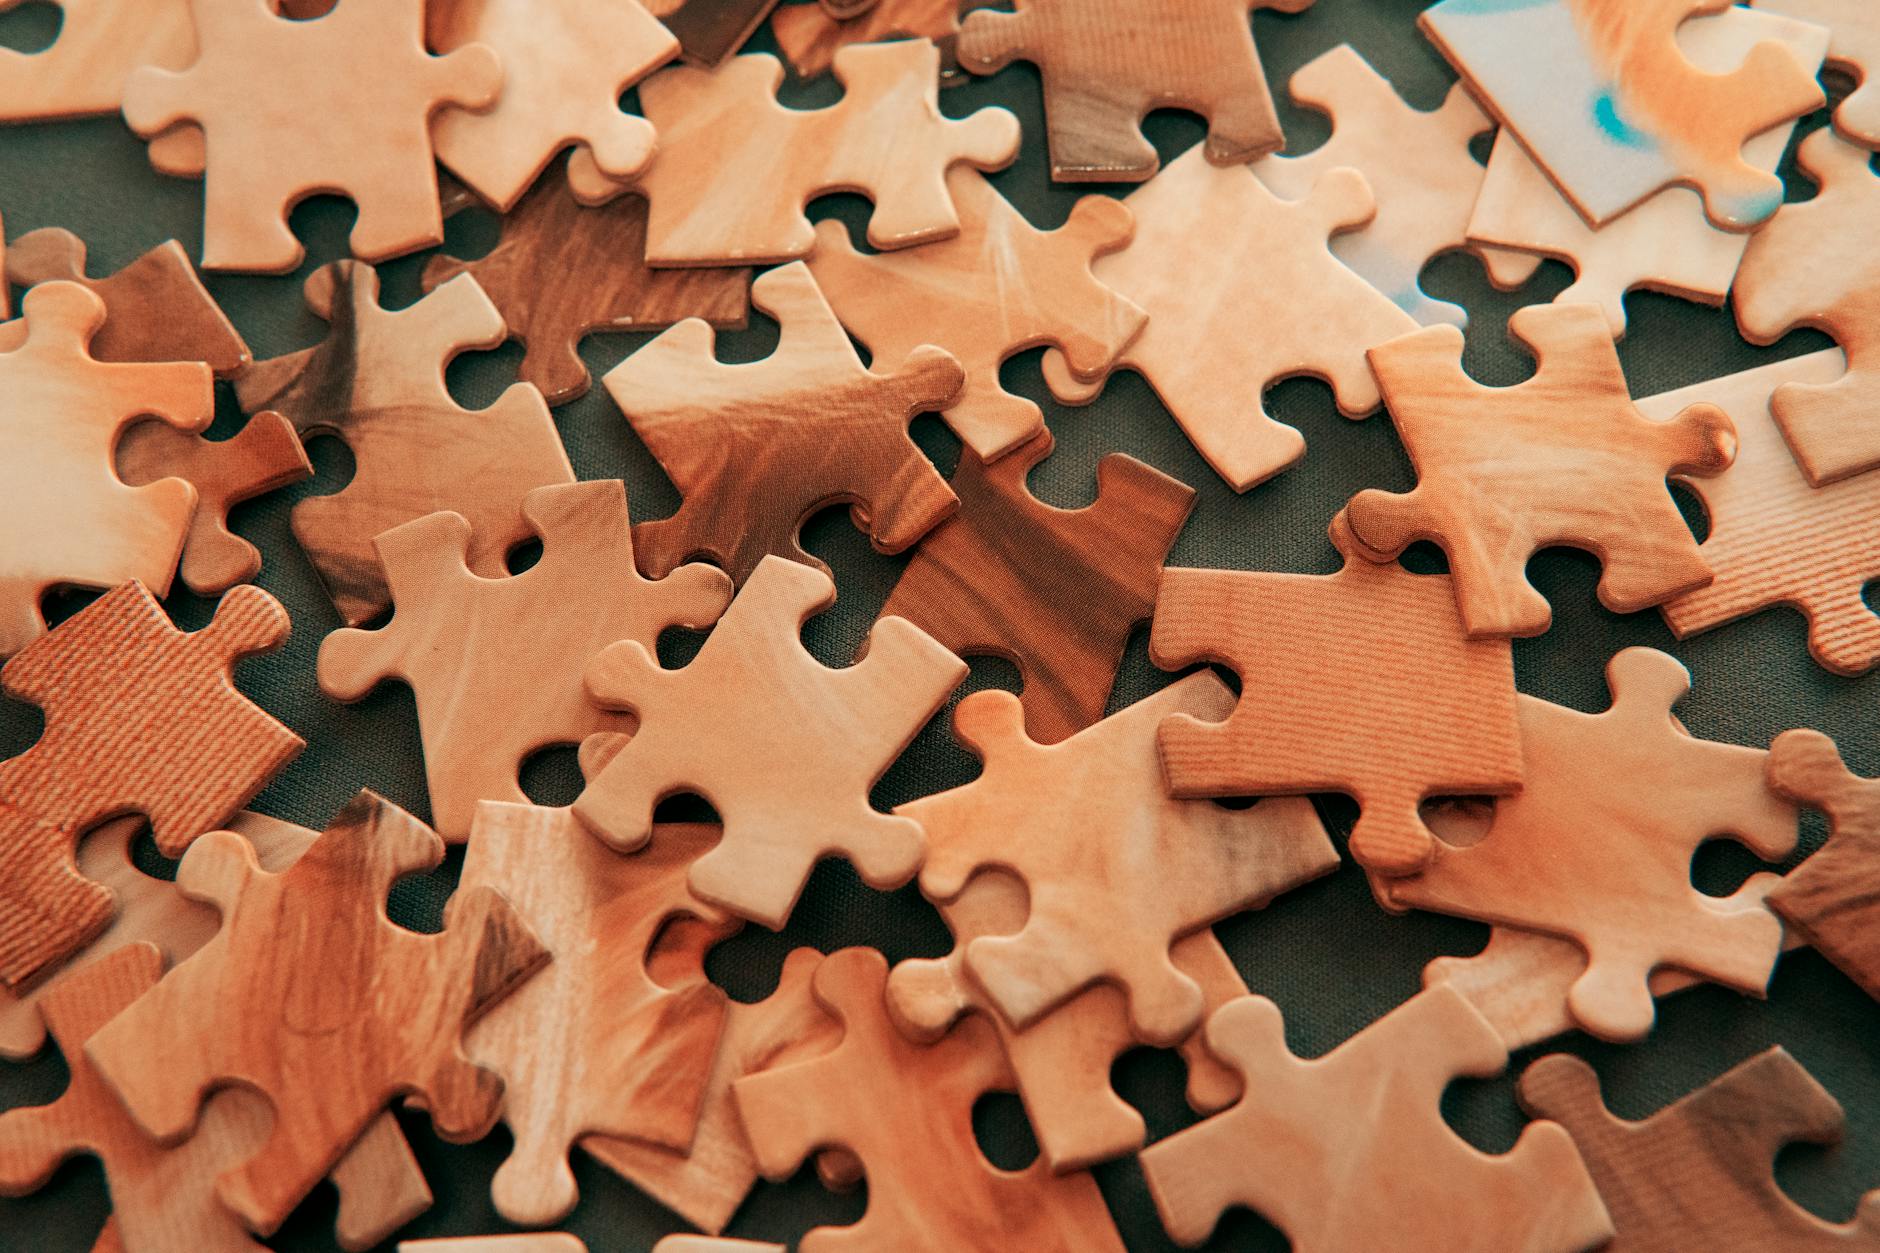
Are you a pet lover who enjoys crafting and puzzles? Why not combine these passions and create a beautiful wooden jigsaw puzzle featuring your favorite furry friend? In this post, we’ll guide you through the process of making a custom wooden jigsaw puzzle that showcases your beloved pet, making it a fun project for you and a charming keepsake for your home.
Why Choose a Wooden Jigsaw Puzzle?
Wooden jigsaw puzzles are not only durable and eco-friendly, but they also offer a unique tactile experience compared to traditional cardboard puzzles. The warmth of wood adds a special touch, making your puzzle a beautiful piece of art when it’s not being assembled. Plus, a puzzle of your pet will surely bring a smile to your face every time you see it!
Materials Needed
Before you start, gather the following materials:
- High-Quality Wood: Use plywood or MDF (medium-density fiberboard) for best results.
- Image of Your Pet: Choose a clear and high-resolution photo.
- Adhesive: Wood glue or spray adhesive works well.
- Puzzle Cutter or Jigsaw: If you have access to a laser cutter, that’s ideal; otherwise, a manual jigsaw will suffice.
- Sandpaper: To smooth the edges after cutting.
- Sealer or Paint (optional): For a finished look.
Step-by-Step Instructions
- Select and Prepare Your Image
Choose a photo that captures your pet’s personality. You can edit the image using photo editing software to enhance colors or add fun effects. - Print the Image
Print the image on high-quality paper. Ensure it’s the same size as the wooden board you’ll be using. - Attach the Image to the Wood
Use your adhesive to attach the printed image to the wooden board. Make sure to smooth out any bubbles or wrinkles. - Draw Puzzle Piece Shapes
On the back of the wooden board, lightly sketch your desired puzzle piece shapes. Keep in mind that larger pieces are easier to assemble, especially if you’re creating this for younger puzzle enthusiasts. - Cut Out the Pieces
Carefully use the puzzle cutter or jigsaw to cut along the lines you’ve drawn. Take your time to ensure clean cuts for a better fit. - Sand the Edges
Once all pieces are cut out, use sandpaper to smooth any rough edges. This step is crucial for safety and will ensure a more enjoyable puzzle experience. - Seal or Paint (Optional)
If you want to protect the wood or add a pop of color, consider applying a sealer or paint. This step is optional but can enhance the puzzle’s appearance. - Enjoy Your Custom Puzzle
Allow everything to dry completely, and then enjoy assembling your one-of-a-kind wooden jigsaw puzzle with family and friends!
Tips for Success
- Choose the Right Photo: A photo where your pet stands out against a contrasting background will yield the best results.
- Experiment with Shapes: Don’t be afraid to get creative with your puzzle piece shapes. You can make them more whimsical to match your pet’s personality.
- Consider Making Multiple Puzzles: If you have more than one pet, consider creating separate puzzles for each, or even one that features a group photo.
Conclusion
Creating a DIY wooden jigsaw puzzle of your pet is not only a delightful craft project but also a wonderful way to cherish your furry companion. It makes for a perfect gift for fellow pet lovers or a lovely addition to your home décor. So gather your materials, unleash your creativity, and enjoy the process of crafting a personalized puzzle that celebrates the joy your pet brings to your life!
Do you have any tips or experiences with creating wooden jigsaw puzzles? Share your thoughts in the comments below!